RenderTune
Video Rendering App
Combine Audio & Images into Professional Videos

Features
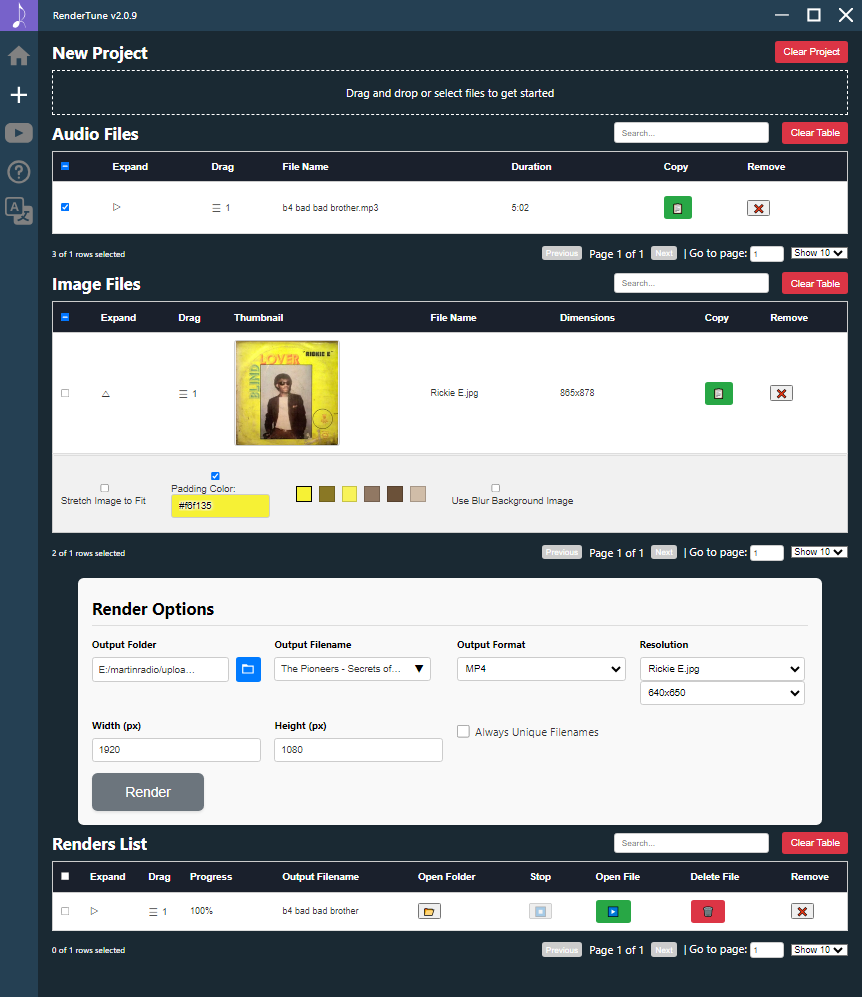
Render Videos
Render videos from a single audio file or combine multiple audio files in a specific order.
Customizable Resolution
Set the output video resolution and choose your desired output location.
Padding Options
Add black or white padding to adjust the image frame.
Drag-and-Drop Support
Easily select files with intuitive drag-and-drop functionality.
Batch Rendering
Process multiple videos at once with customizable settings for each render.
Format Support
Supports popular audio formats (mp3, wav, flac, etc.) and image formats (png, jpg, webp), output as mp4.